 |
| Jack |
Did you know that pumpkin carving is handed down to us from
the Irish who typically carved turnips, mangel-wurzel or beets? Yes, beets. The
term jack-o-lantern comes from English folklore, meaning “foolish fire” or ignis fatuus, a visual phenomenon more commonly known as the “will-o’-the-wisp.”
(For those of you who have seen Disney’s Brave or know more than the Average
Joe about English folklore, you're probably picturing one right now, aren’t ya?)
Didn’t know about that little o bit of Halloween trivia? Hey, I’m with you….
 |
| My preciousssss.... |
We
Williamses might be more largely German than Irish, but we’re still very proud
of our pumpkin carving tradition. For several years now, I’ve documented this
activity. So here we are again, old friends and new – your photo-guide to
carving jack-o-lanterns….
First,
we start with THIS…or else, I do. This is the pumpkin spice latte. It is my
pumpkin-carving friend. Particularly since we Williamses tend to wait until the
witching hour (zero dark thirty) to get on with our pumpkin-carving nonsense
and the coffee does well to keep this mama awake long enough to finish. My
thanks to Starbucks for this necessary libation….
 |
| Tools |
Then we get down to it. Choose to carve preferably on a
raised surface like a kitchen or craft table. Spread newspaper if you’re
worried about making a mess. Also make sure you have plenty of good light. We
use lamps without the shades to get a good view from all angles of work. You
see here a set of pumpkin-carving tools. You can buy these cheap doodads anywhere
that typically sells Halloween junk. This kit cost us less than $10 and worked
quite nicely, as did all our traditional, at-home pumpkin-carving utensils such
as kitchen spoons and toothpicks. The first step to carving is to make a nice,
round lid by cutting off the top of the pumpkin. [Note: some people take this
time to cut a small, triangular hole on the edge of the lid for venting
purposes. This is probably a good idea, if you’re planning to go the
old-fashioned route and use live candles.] Now, you know you’ve got a good
pumpkin when you make your incision (CAREFULLY, PEOPLE) and little beads of dew
spring up to the surface like this. This is also where the inner child springs
up and I rasp, “IT’S ALIVE!”….
 |
| Incision |
 |
| Pumpkin guts |
 |
| Goop bowl |
Next step: scoop the goop. If you have kids, this is where
you’re most likely to involve them. I’ll admit, scooping the goop was mine and
my sister’s favorite part of carving as girls. Mostly, I think, because it was
an opportunity to get our hands dirty with permission from our parents…and
because this was the only really kid-safe part of carving. When you scoop the
goop, seeds, and assorted other stringy guts (it is Halloween, after all), the
best thing to use is your fingers. Dispose of the goop in a bowl to be disposed
of later. Choose someone to separate the seeds if you plan to clean and roast
them later….
 |
| What inside should look like after goop removal... |
When you get most of the nasty gook out of the pumpkin, it’s
time to pick up a spoon. In my experience, the spoon is the best tool for
picking up all the loose ends around the inside of the gourd, making for a
nice, smooth surface. The more loose bits you remove from the pumpkin and the
smoother the inside walls, the better. The pumpkin itself won’t rot as quickly,
preserving it until All Hallows Eve, and there’s less a chance of the whole
thing burning down when you light a candle inside it later. Another thing to
keep in mind at this stage, try not to let your little ones (or your spouse,
for that matter) chase each other around with pumpkin-goop-caked fingers.
Goop-stained clothes aren’t all that fun to clean. It makes for some gooey hair
clumps, too…just so you know….
 |
| Hole-poking complete on my pumpkin.... |
 |
| Template |
 |
| Hub doing the hole-poking. No wisecracks, please.... |
Now it’s time to work on the face of the pumpkin. Choose the
prettiest, roundest side of the pumpkin. There’s usually only one really good
side. Make sure you’re not carving too low or too high on the face. The best
way to do this is to have a ready-made template of what you want the carving to
look like. (Templates can be printed from your computer or drawn free-handed
onto a piece of paper. You can sometimes buy template booklets with your
carving tool-kits at the store.) My favorite method, and the most trusty, less
mess way to go about it, I’ve discovered, is using a hole-poker. Some pumpkin-carving
kits come with hole-pokers. A toothpick is another good utensil for this step. After
taping your template onto the front of the pumpkin, follow the carving lines
with your toothpick or hole-poker, punching small holes very close together on
the pumpkin’s surface. When you’re done, there should be a very distinct shape
and easy-to-carve template right there on the front of the pumpkin for you to
follow….
 |
| Power tools: not for beginners.... |
The next part tends to be the most dangerous. I don’t
recommend using kitchen knives, pocket knives, or any other sharp and
potentially finger-hacking-off objects. This I unfortunately know from
experience. Not that I lost a finger – but one nick with a knife is enough to
scare you away from the lot of them. Since not all of us have power tools like
the hub…who’s showing off a bit here, small stick saws designed for pumpkins
tend to be a little safer. You can buy these in relatively cheap sets like I
mentioned above. While they are still sharp, there’s less room for accident.
Take one of these saws and, following your template lines, carve straight down
into the pumpkin, carving out little pieces at a time for the best results. Try
not to cut at an angle. This could mess up the lines. (I tend to be the one who
makes this mistake every year. For some reason, I never learn.) This, by the
way, is also the most involved and intricate part of carving. If your design is
complicated, it can also be very time-consuming and a bit grueling. Remember to
have fun. This year, we utilized a fun playlist of Samhain-tastic songs like “Monster
Mash,” “Psycho Killer,” “Running with the Devil,” “Highway to Hell,” and, my
personal favorite, “Ain’t No Rest for the Wicked.” Also since knives/saws/power
tools are now in use, make sure your kiddies are occupied elsewhere, like this
cute little dude here….
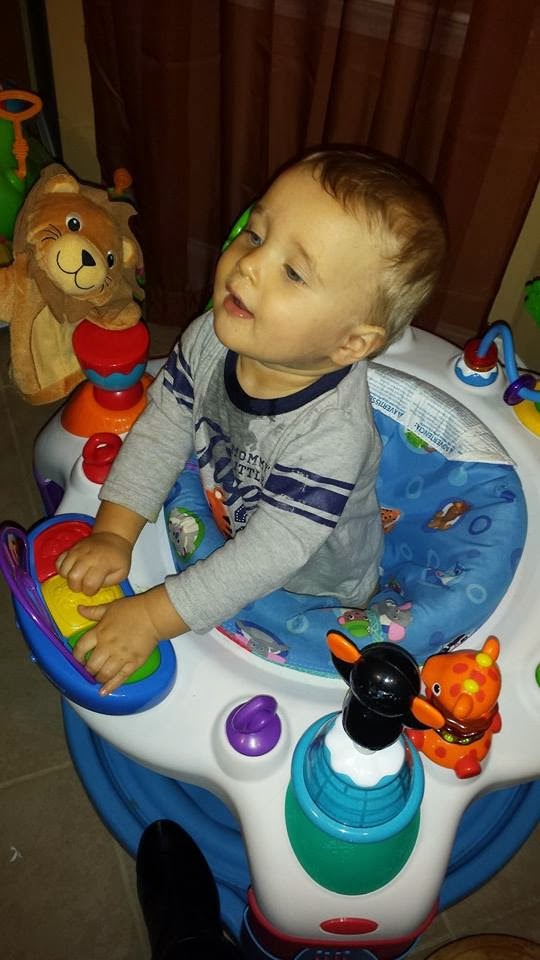 |
| "What y'all doin' up there?" |
 |
| Almost done! |
After putting the finishing touches on the design, smoothing
out the edges of your carving like the hub is doing here, you should have an
awesome, finished product! As you can see, the hub chose a great, classic
design like Jack Skellington. Aren’t they cute? My little sis chose a nice,
girly Hello Kitty design. I decided to go with a good, old-fashioned witch on a
broomstick. Hehehehehe! (That was my feeble attempt at witch cackle, in
case you missed it….) Now it’s time for the best part! Using tea-lights (the real
thing or battery-operated for those who are a little more safety-conscious),
light those puppies up, turn out the lights and let them glow. Put some “Thriller”
on in the background and practice your best evil laughter. (Use flashlights for
effect here if you have them and you’re still that in touch with your inner
child like we apparently are.)
 |
| Hub & Jack Skellington |
 |
| BooBoo & Hello Kitty |
 |
| Me & Bette Midler a la Hocus Pocus |
 |
| The Minion and his first pumpkin photo shoot.... He's a natural! |
Now for the boring part. Before we get ahead of ourselves and front-porch decorating commences, it’s time for some basic jack-o-lantern care and maintenance. You’ve spent all this time making your pumpkin look amazing, you might as well make it last. We soak ours overnight in a tub full of bleach- or vinegar-water. The lid may shrink a bit by morning, but it should still fit nicely. If you’re planning to go ahead and leave them outside prior to Halloween, I would recommend wiping them down with bleach or vinegar inside and out every evening to keep the bugs and bacteria off. With this kind of TLC, they should still look fantastic by the time All Hallows Eve rolls around and those trick-or-treaters show up….
 |
| Lights out! |
So there you have it, Pumpkin Carving: 2013 Edition! I hope
you had as much fun as we did! See you next year, Cozy goblins and witches
alike…. Mwahahaha!
No comments:
Post a Comment